Harnesses and other silly sowing projekts
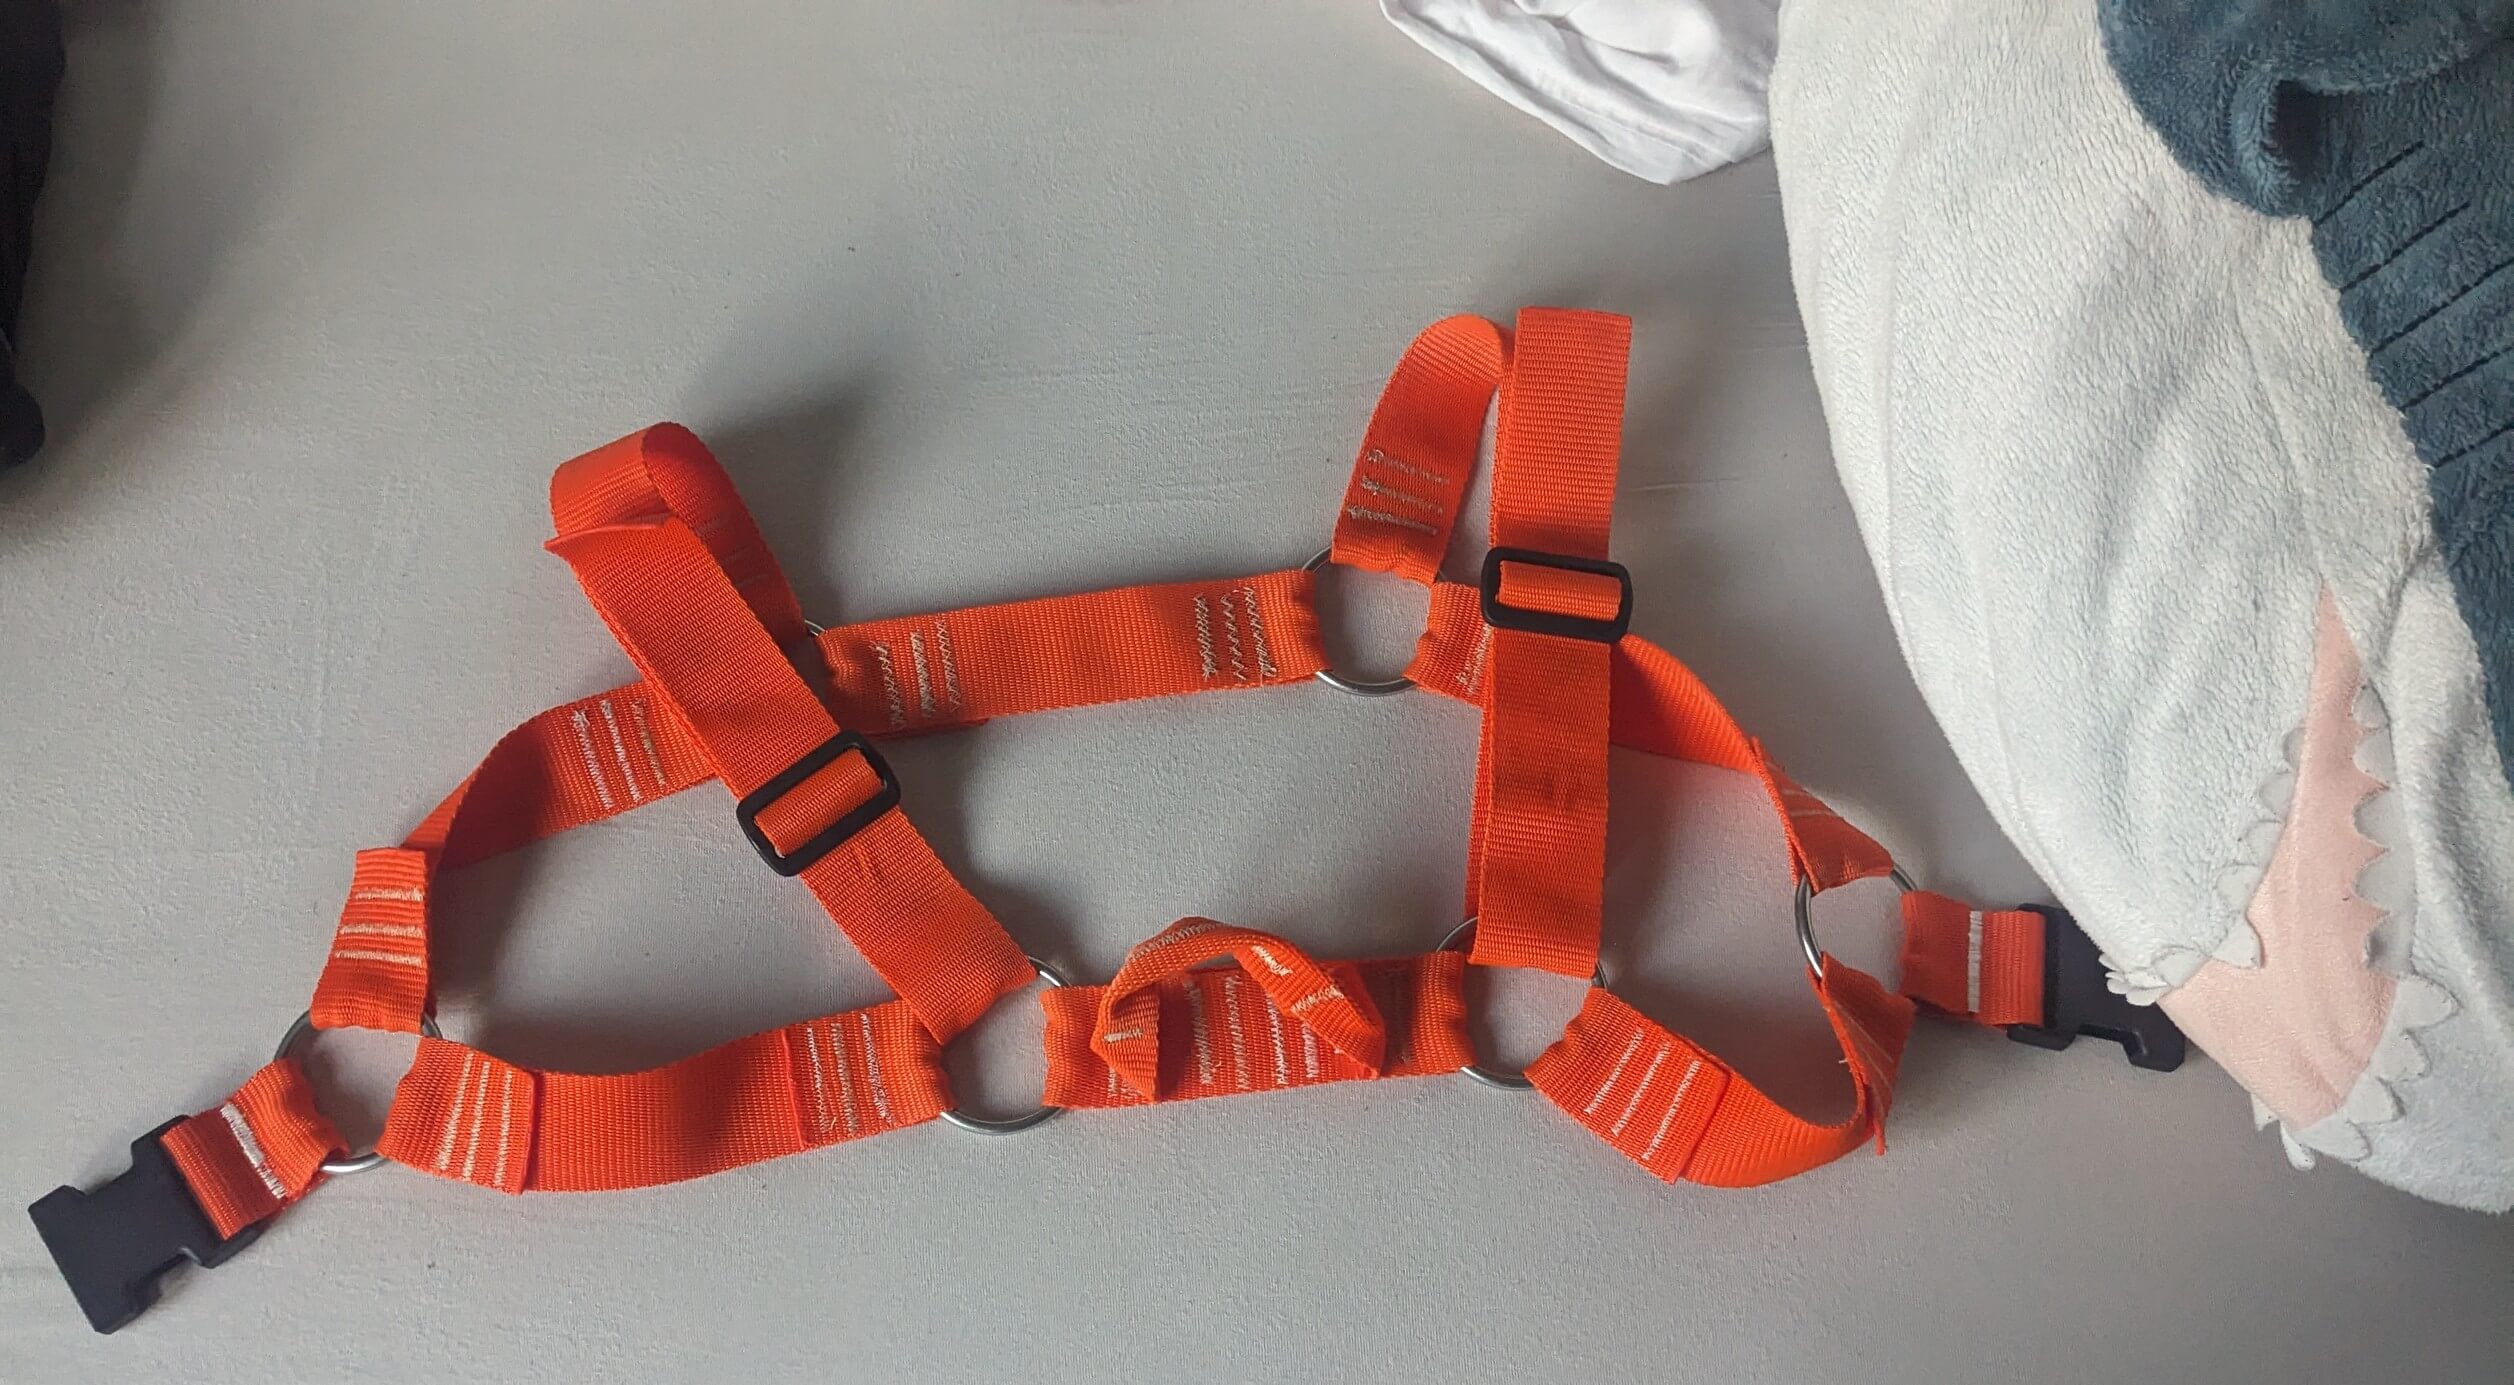
I like the look of many furry harnesses and thought that it couldn't be that hard to make one myself.
GenericCutie convinved me to make my first one, shown on the left.
It was fun but also not very vusually appealing.
No need to design a pattern, i am currenty just looking at pictures and trying to recreate them.
Some nice references are CrunchyCurl, AlMersDungeonand ... .
X-Harness
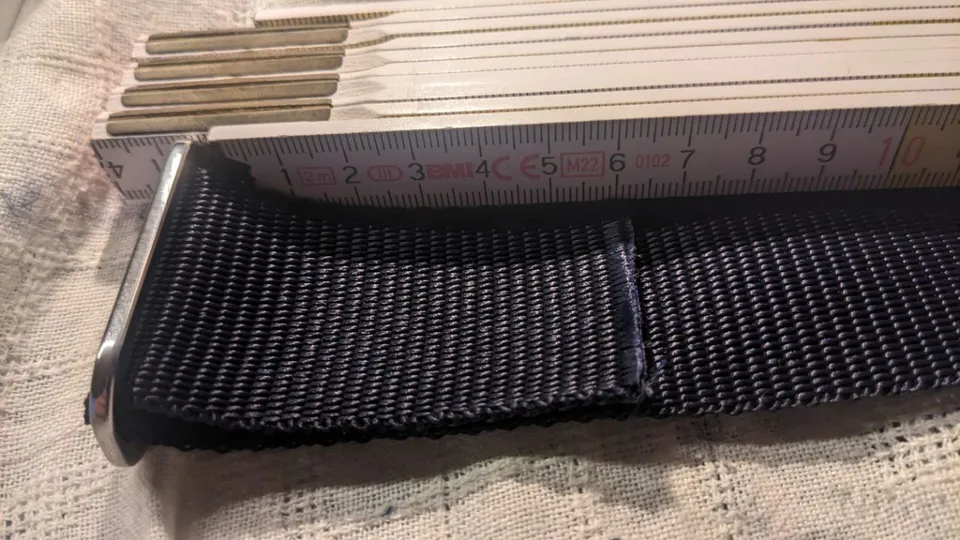
1. Buckle Attachment
First step in attaching the buckles to the harness.
Proper positioning is essential for functionality.
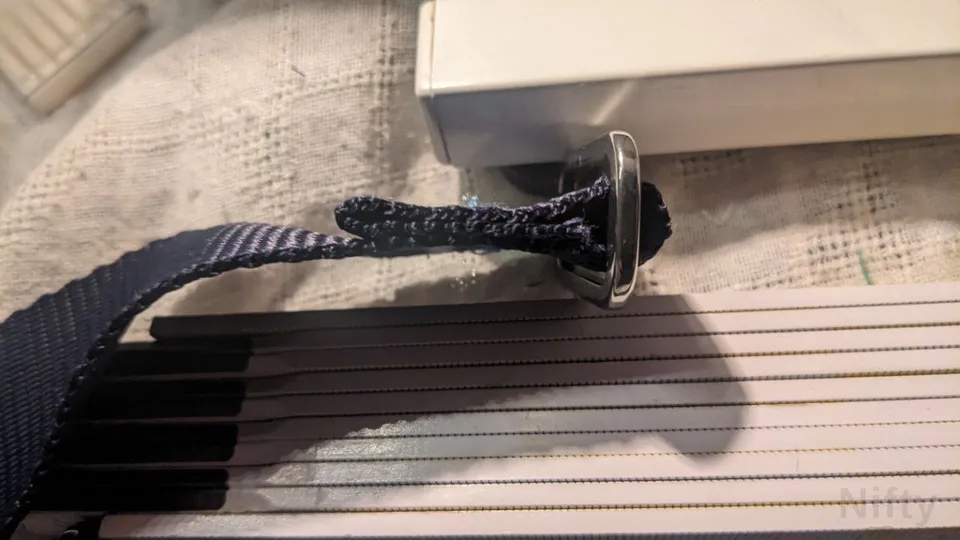
2. Buckle Attachment
Second step in the buckle attachment process.
Securing the buckle with reinforced stitching.
X-Harness_Buckle_3

X-Harness Hardware
Hardware components needed for the X-harness construction.
Buckles, rings, and adjustment hardware.
Cuffs
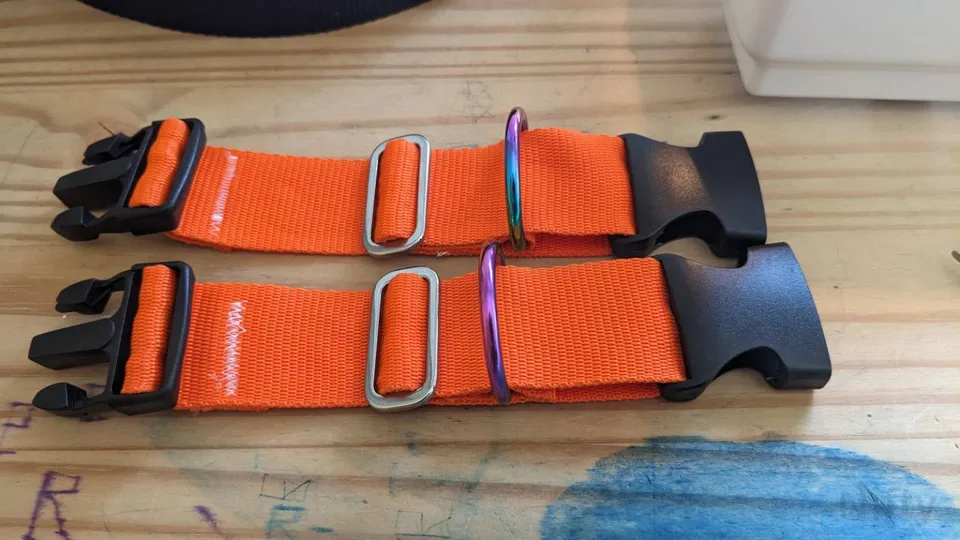
Assembly Process
Assembling all components together.
Final assembly of the complete cuff.
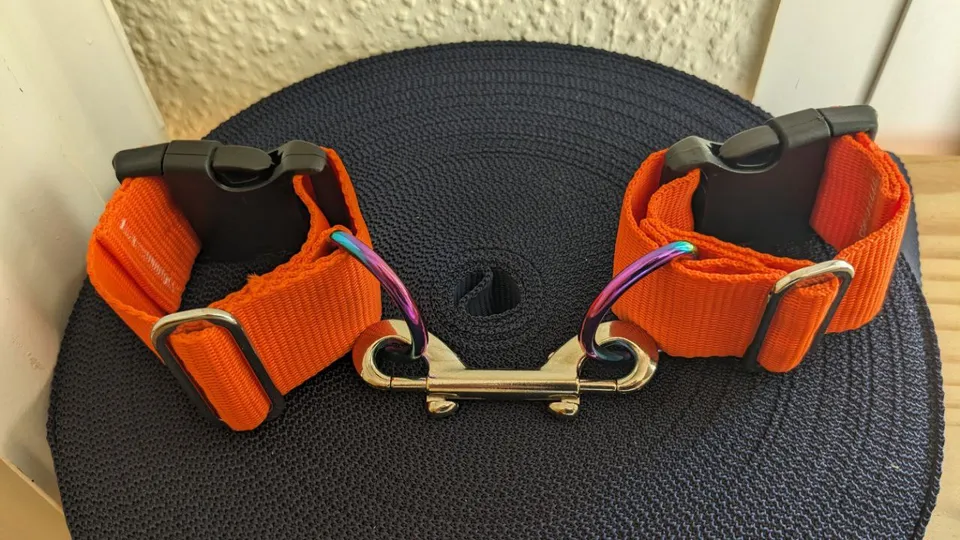
Connected Pair
Both cuffs connected and ready for use.
The finished pair working together.
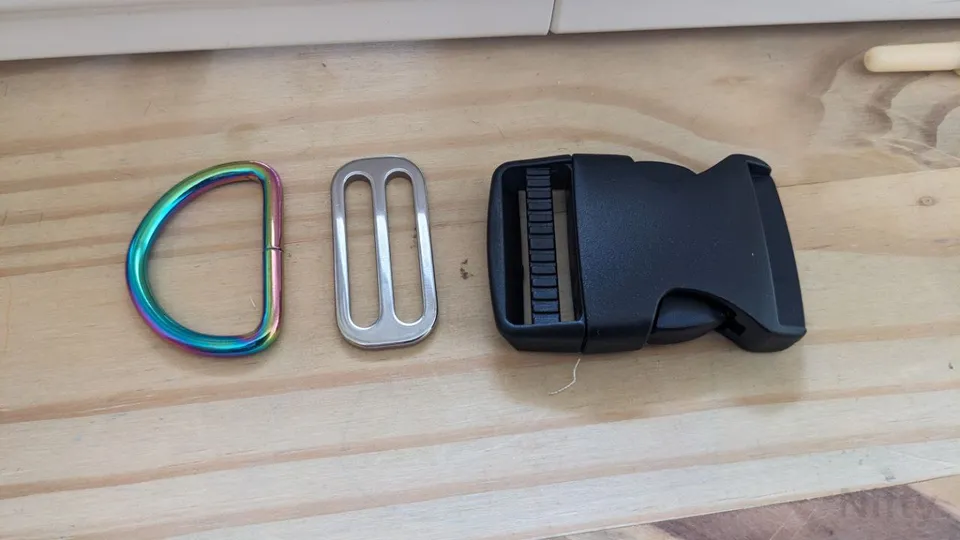
Hardware Components
I got the hardware: a buckle, d-ring and tri-glide.
These are essential components for making functional cuffs.
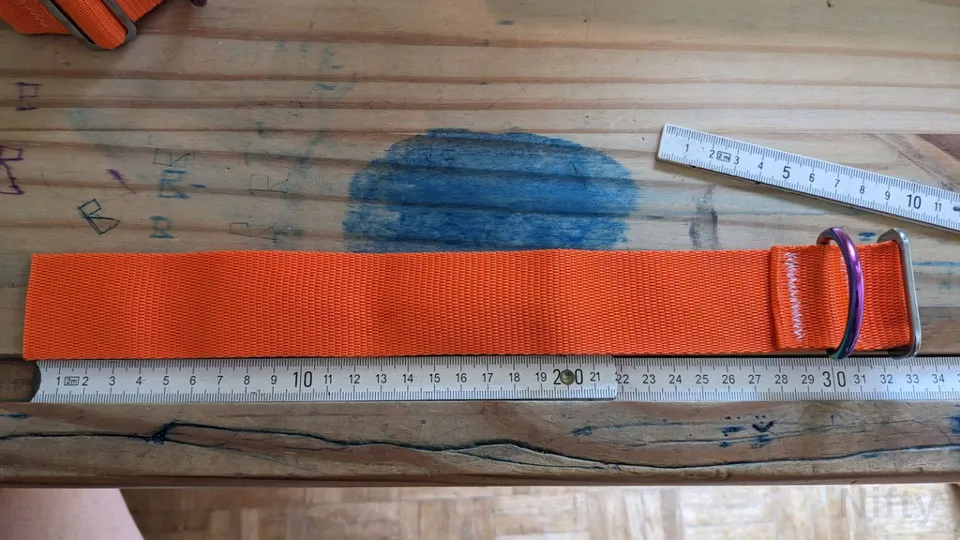
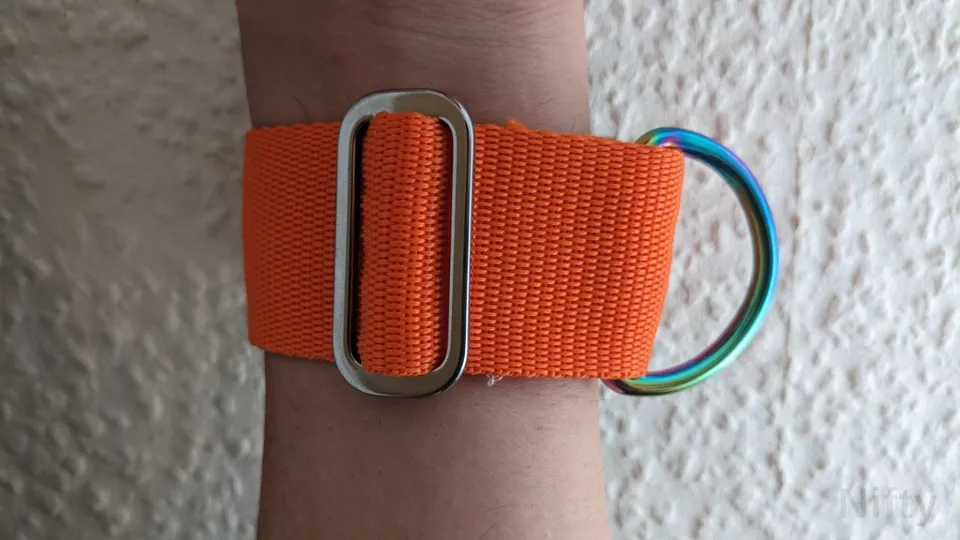
Taking Measurements
Measuring the important dimensions for proper fit.
Accurate measurements are crucial for comfort and functionality.
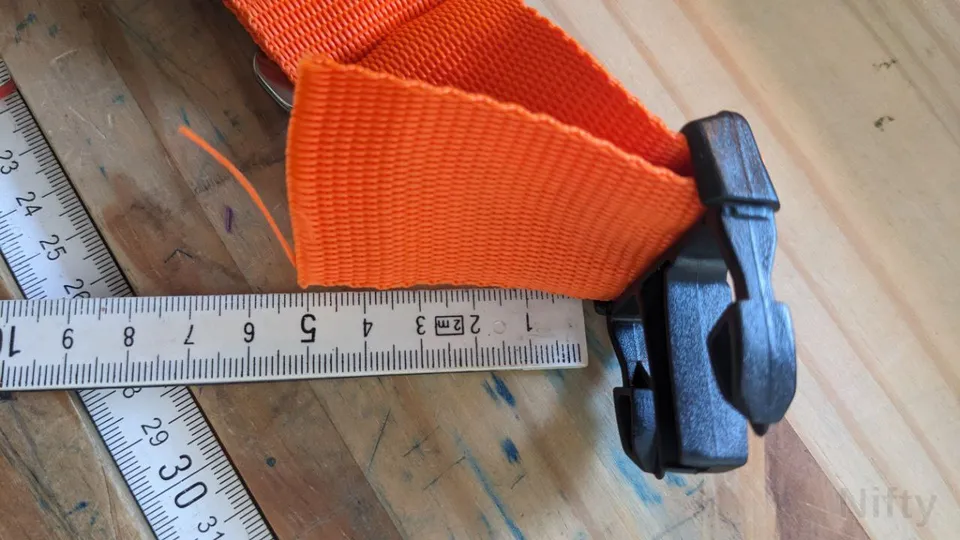
Size Testing
Testing the size and fit before final assembly.
Making sure everything fits properly.
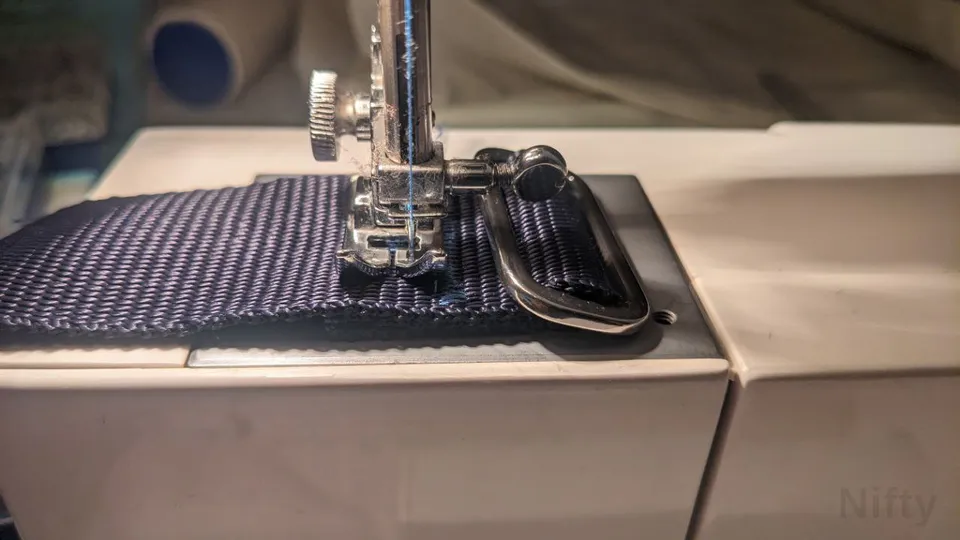
Sewing the Buckle
1. Sewing the buckle onto the cuff material.
Ensure secure attachment for durability.
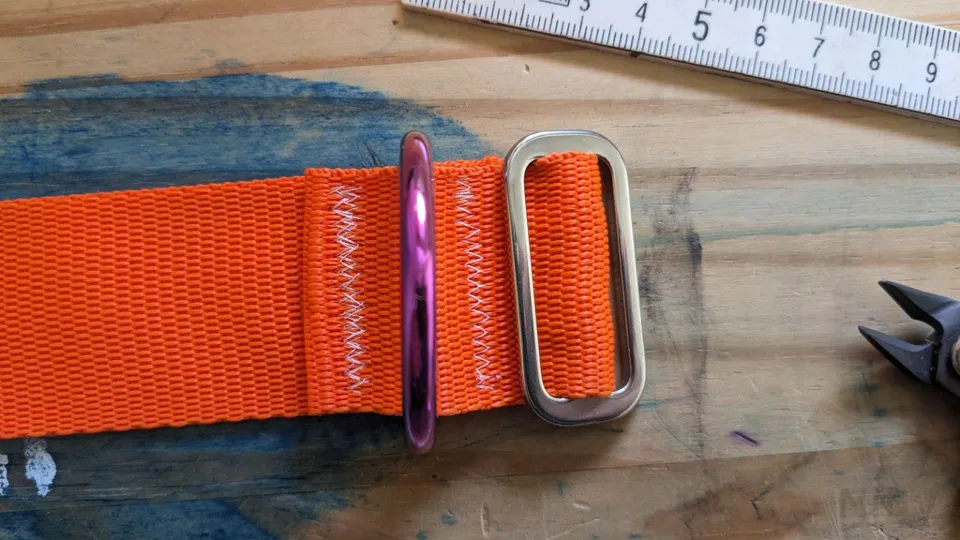
Sewing the D-ring
3. Sewing the D-ring in the middle of the two stitches.
This provides the attachment point for restraints.

Sewing the Tri-glide
2. Sewing the tri-glide for strap adjustment.
This allows for size customization.
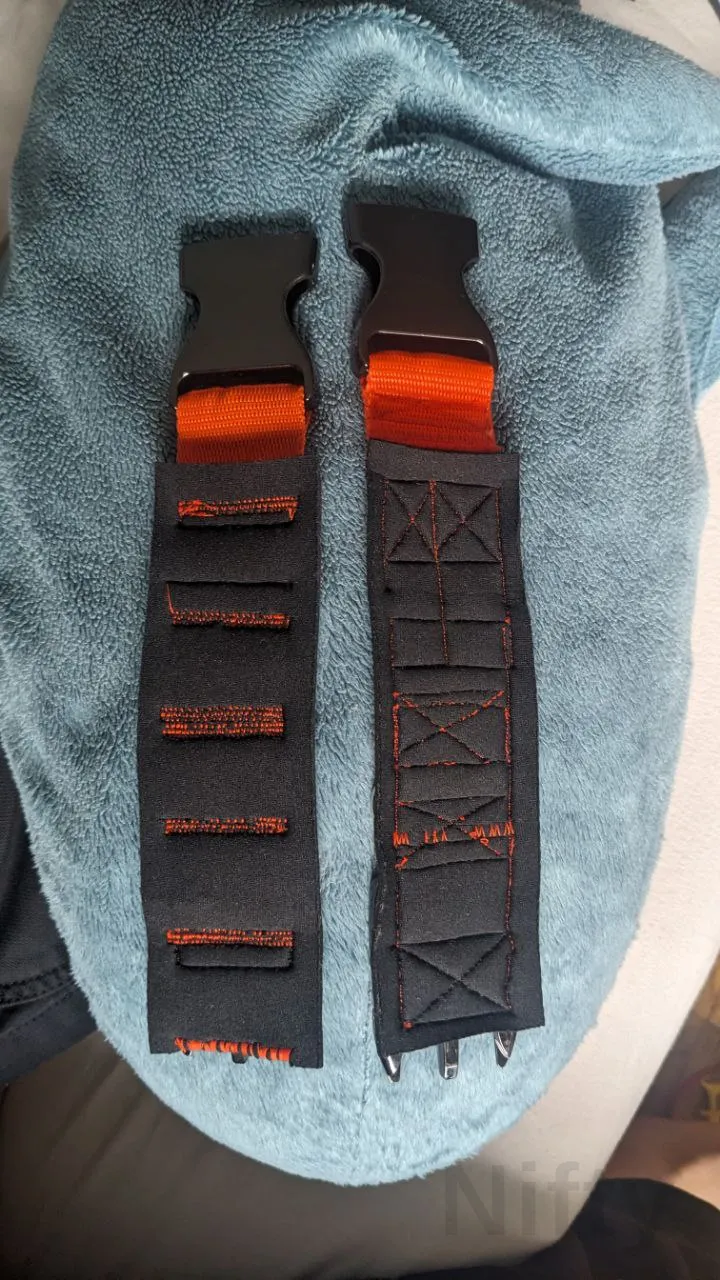
Bottom View - Version 2
Bottom view of the second version design.
Shows the underside construction details.
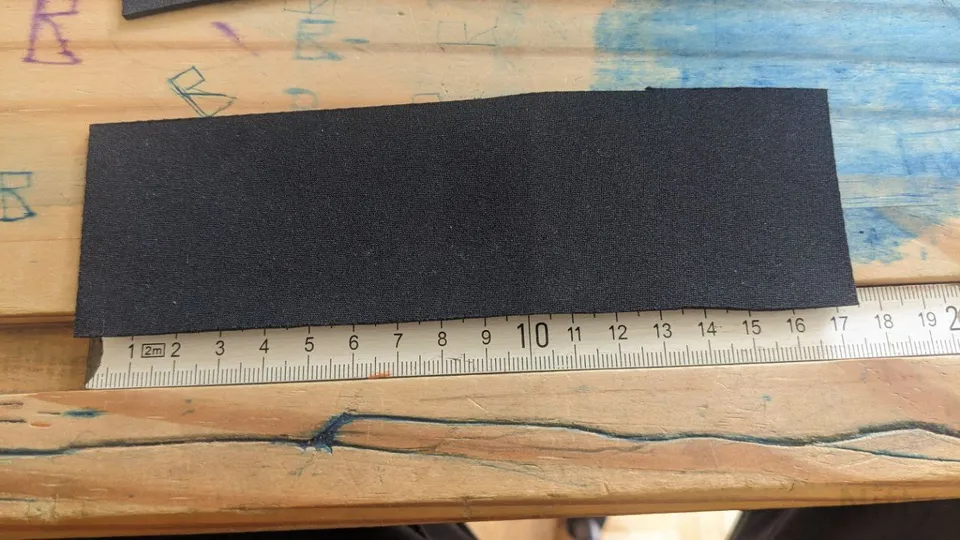
Cutting Neoprene
Cutting the neoprene material for version 2.
Preparing materials for the improved design.

Top View - Version 2
Top view of the second version design.
Shows the upper surface and hardware placement.
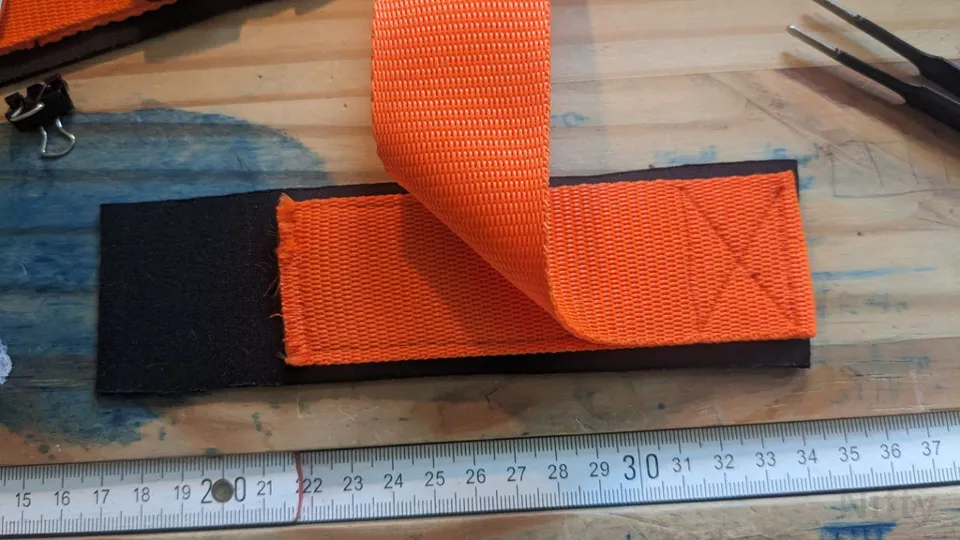
Sewing Belt on Top
Sewing the belt material on top of the base.
Adding the adjustable strap layer.